Product models freeze an idea and development into a testable object to evaluate the form, feel, functionality and interaction. It fixes perception with a one:one focus for discussion and further development. It used to be in design schools and ID firms models were made with the most toxic of materials; automotive foams, polyester-resin, body filler and spray paints to create nearly perfect representations of plastic products. Thanks to new prototyping technologies this has changed in design schools. But what about in middle schools and high schools? Are workshop and crafting teachers using non-toxic materials and model making appropriately? Most projects in the teen years are important for the learning and not the product. The output usual commands short attention span and now can be documented easily with the smartphone. In the development process most models are works in progress; ways to research and realize a floating possible answer to a suggested need or for the student to learn and apply a crafting technique while realizing a low quality product. Recently high schools budgets for workshops and teachers are being cut and 3D handmade projects are being ignored in favor or 2D graphics/photo/painting or film. In some cases workshop equipment is out of date, perhaps dangerous to use and the funds cutting means there is no full time shop teacher. Curriculum priorities are shifting and students work better with 2D projects, apps and digital equipment than with mechines. Proactive teachers are re-thinking, redesigning and re-energies students with new ways to work in 3D? In the last decade many educators have generated new creative projects with students with recycled or re contextualized materials. Lamps, sculptures, and domestic use objects made of pet bottles; chair projects made of cardboard or old wood, clothes made from recycled clothing and, of course, there are many variations on the “Freitag” shoulder bag to help students discover making of 3-D products using materials second life strategies. It has been a very good strategy to cut school costs and promote learning within the current social-enviromental aware context. 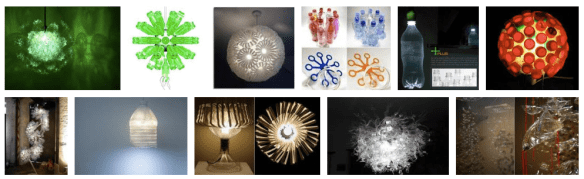
But if you want to make design objects then very likely you start by finding a need, a end-user scenario and a manufacturing process. When you start the design process like this the material choice happens much further along in the development. And that means the model making technique fits the designed object and not the design evolves from the parameters/properties of the craftsmen’s materials. 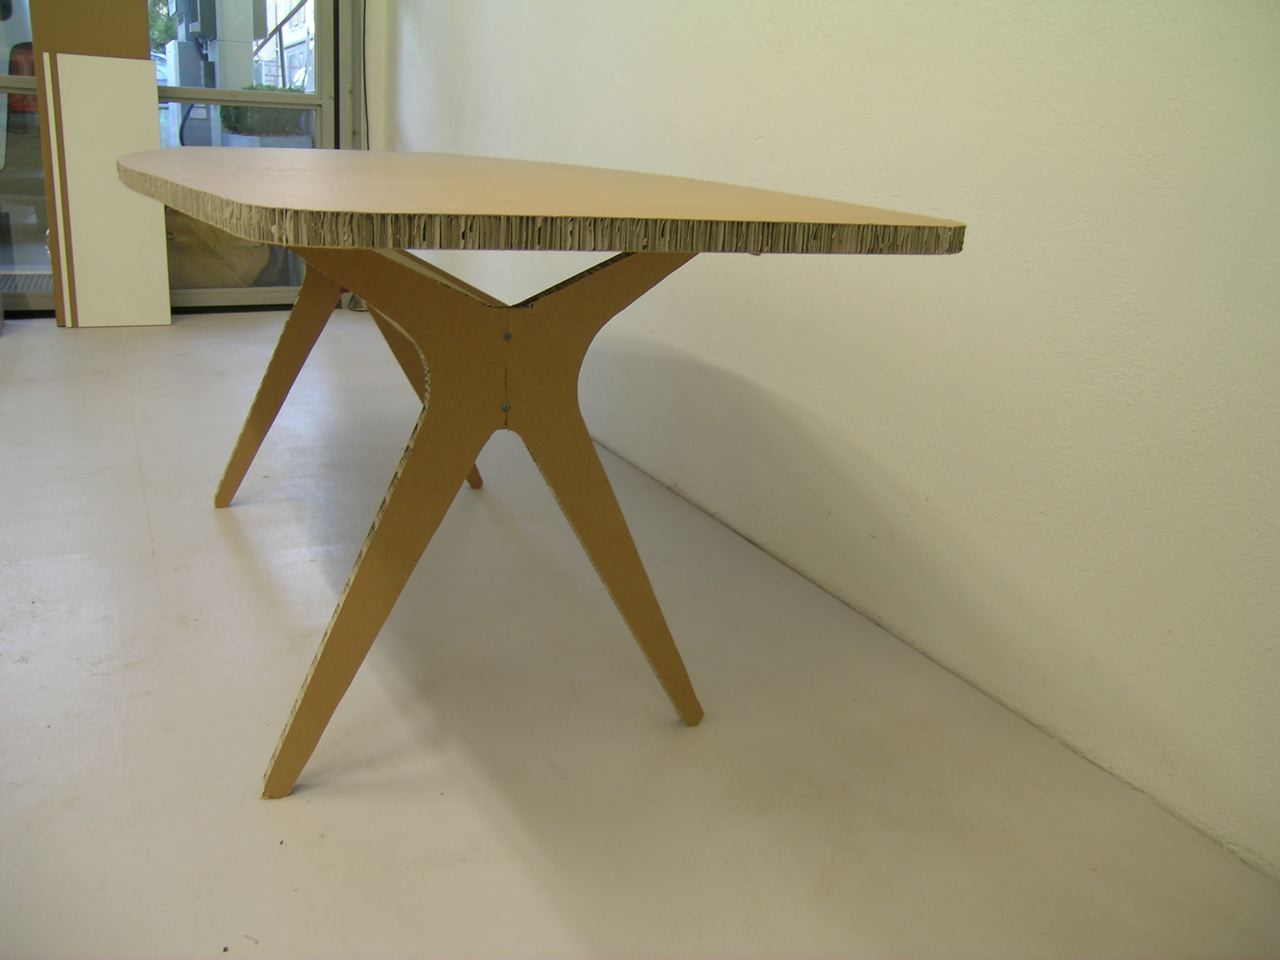
Addressing lifecycle costs, waste and ease of making concerns in the early design process helps with choosing the correct materials for the end product. Here lightweight easy to work SWAP board” is used to create a 1:1 model of the CP table with basic tools and hand cutting/forming. Very quickly the user experience and workability of the design could be evaluated. 
Clay is great but has no form of its own, wood and stone have grains and shapes within them which don’t always conform to our goals because of material characteristics. Even though many people prefer working with natural materials because they are non toxic and have integrity from deep traditions of craftsmanship sometime they have too much voice. That is too many references or workability issues which have evolved with the tools and machines used to shape them. What voice does black ebony and ivory have? What does sharp or grainy Porcellen say to the eye and hand? What does cork make one think of when you see it on the table? Each low tech or natural material has its characteristic and references for the user and maker. 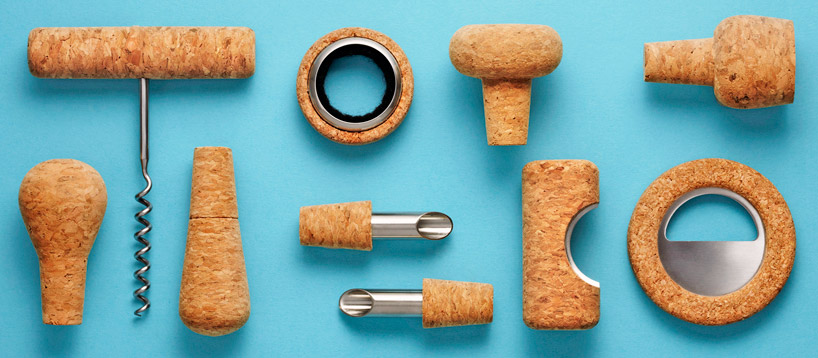 One of the best ways to find new forms and references from a materials based research is to work unusually. For instance to make a 1:5 model of a new coffee table, cook some pasta with extra starch and when it is semi soft drape it over stale bread covered in plastic wrap as a drying form and let it dry out for a day. Use black noodles if that looks more design like. What you get is a new way of seeing the form + material >> purpose working as if the table is made of bands or wood veneers. Another example: take some vegetables and form them to make new door handle grips. Or use carrots, radishes and potatoes to make kitchen tool handles in different color combinations. Let the research open your observations about material qualities, colors, working methods, and assembly techniques in a design. After students have something rough, funny and handy to experience then they can sketch and even improve a CAD drawing for 3-D printing at the Fablab-bern. Working this way is more experiential and fun but may need some phases of “getting real”. Let your imagination be like a childs discovering new forms and references and probably even new ways to see what is contained within the material. When your done making you can either snack on or compost the rest.
